Evil Twin Attack with Fluxion
⚠︎ Disclaimer: This writeup is strictly for educational purposes. Performing this attack without explicit written permission from the network owner is illegal. Always test in a controlled lab environment.
What is Fluxion?
Fluxion is a wireless security auditing tool used in penetration testing. Instead of brute-forcing a Wi-Fi password, it takes a smarter approach, it uses social engineering to trick the victim into handing over the password themselves.
It supports two attack types that work together:
- Handshake Snooper — Captures the WPA/WPA2 authentication hash from the 4-way handshake between the router and a client.
- Captive Portal (Evil Twin) — Creates a fake rogue network that mimics the target, then serves a phishing page asking for the Wi-Fi password. The captured handshake is used to verify whether the password the victim enters is correct.
You’ll need a wireless adapter that supports monitor mode — a built-in laptop card usually won’t work. An external USB Wi-Fi adapter (like the Alfa AWUS036ACH) is the go-to choice.
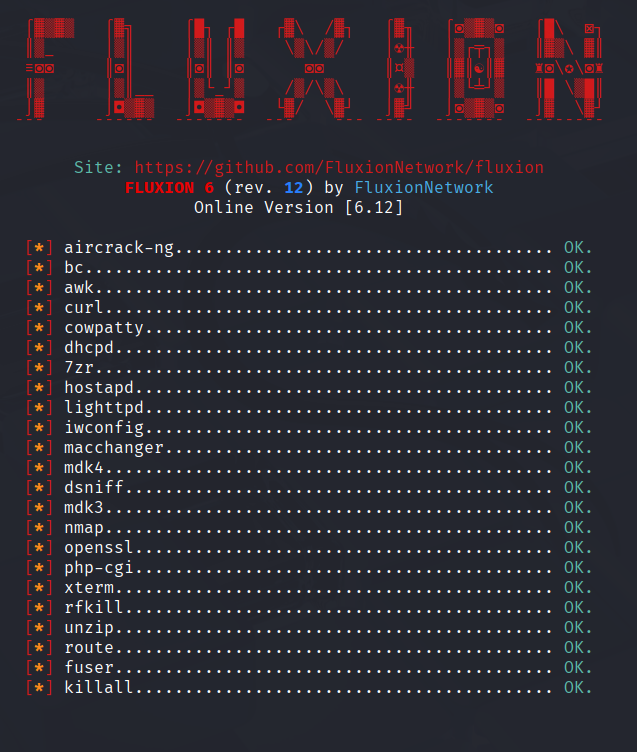
Step 1 — Installing Fluxion
Fluxion doesn’t come pre-installed on Kali Linux and isn’t available via apt. You need to clone it directly from GitHub:
1
2
3
4
git clone https://github.com/FluxionNetwork/fluxion.git
cd fluxion
ls
./fluxion.sh -i
The -i flag tells Fluxion to check and install its dependencies automatically. When you run it, you’ll be greeted by Fluxion’s ASCII logo while it scans for missing packages.
If any dependencies are flagged as missing, install them manually before moving on. In this demo, everything was already present so we went straight to the attack.
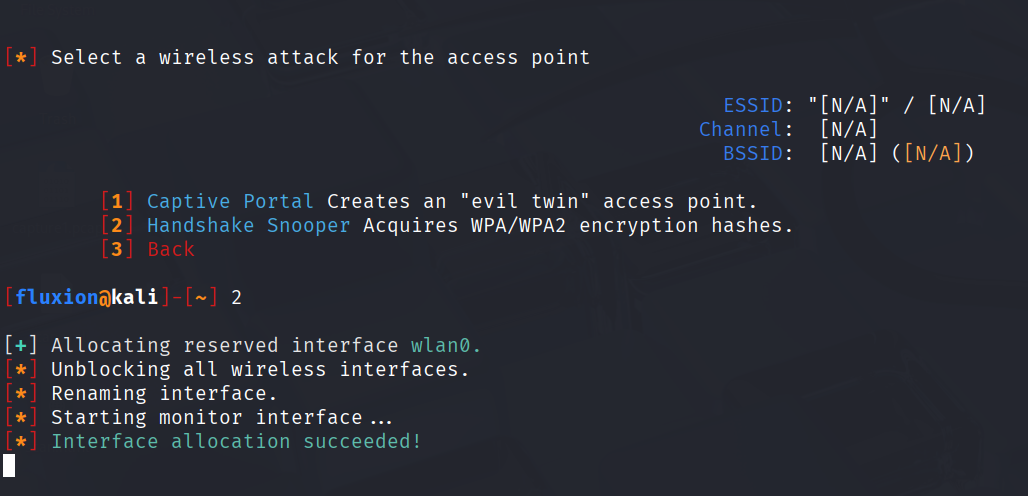
Step 2 — Selecting the Attack & Interface
After the install check, Fluxion presents you with the attack menu. Since we need to capture the handshake first, we select Handshake Snooper.
Next, Fluxion asks which wireless interface to use. Our external adapter shows up as wlan0, so we select that. Fluxion automatically puts the interface into monitor mode — you’ll see this confirmed in the terminal.
Step 3 — Scanning for Target Networks
Now we tell Fluxion to scan all available SSIDs on the 2.4 GHz band. A new xterm window opens and starts listing every Wi-Fi network in range.
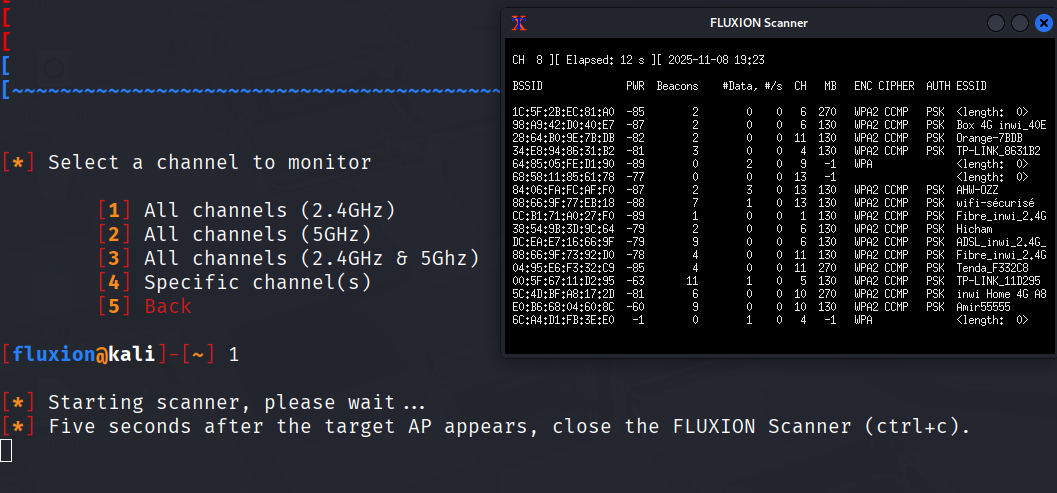
Let the scan run for a bit until your target network appears in the list. Once you see it, press Ctrl+C to stop the scan and return to the main terminal.
Step 4 — Configuring the Handshake Capture
Back in the main terminal, you’ll see a numbered list of all discovered networks. Enter the number next to your target — in this demo, we’re targeting pen_test.
Fluxion then walks you through a few configuration options:
Tracking interface: Since we only have one wireless adapter, we select Skip to use the same interface for tracking.
Deauthentication method: This is how Fluxion forces clients to disconnect from the real AP so they attempt to reconnect (triggering the handshake). Three options are available:
- Monitor mode — passive, silent, but very slow.
- aireplay-ng — aggressive, sends deauth packets.
- mdk4 — aggressive, fast, and reliable.
We go with mdk4.
Hash verifier: After capturing a handshake, Fluxion needs to verify it’s valid. The options are aircrack-ng and cowpatty. Fluxion itself recommends cowpatty as more reliable, so we pick that.
Timing mode: We choose Synchronous — it stops the capture, verifies the hash, then resumes. Since we’re running Kali in a VM, this avoids threading issues. The verification runs every 30 seconds, so we’re unlikely to miss important handshakes.
Step 5 — Running the Handshake Snooper
Configuration done - the attack starts. A log viewer window opens showing real-time events.
Fluxion begins sending deauthentication packets via mdk4, kicking every client off the target network. When they try to reconnect, their device and the router perform the 4-way handshake — and Fluxion captures it.
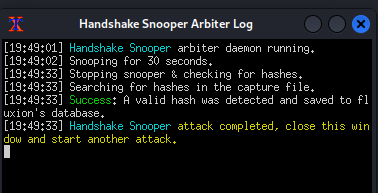
Once the log shows a valid hash captured, the hard part is done. Close the log viewer window. Fluxion will ask if you want to select another attack — and that’s exactly what we’ll do next.
Step 6 — Setting Up the Captive Portal (Evil Twin)
Now we select Captive Portal from the menu. Since we just ran Handshake Snooper, Fluxion recognizes the previous target and asks if we want to reuse it, we confirm yes.
Here’s what each setting does:
Deauth interface: We select wlan0 again to keep sending deauth packets and prevent clients from reconnecting to the real AP.
Deauth method: mdk4 again — same reason as before, it’s fast and worked well.
Rogue AP: Fluxion can use airbase-ng or hostapd to create the fake access point. We choose hostapd — it’s noticeably faster.
Hash verifier: cowpatty again, for consistency with the handshake we captured.
Handshake file: Fluxion auto-detects the .cap file we captured earlier. We confirm it.
SSL certificate: The captive portal should look legitimate, so we choose Create SSL certificate. Skipping SSL would make the portal look suspicious to security-aware users.
Internet connectivity: Two options — emulated (pretends there’s internet) or disconnected. Emulated caused issues with iOS and Android in our testing, so we go with disconnected. The rogue network will show “No Internet Access” to the victim, but the captive portal still loads.
Portal template: Fluxion comes with generic templates. For this demo, we pick the generic English template.
Step 7 — The Attack
Everything is configured. Fluxion launches the attack and several xterm windows open simultaneously. Here’s what each one does:
| Window | Purpose |
|---|---|
| DHCP Service | Assigns an IP address to any device that connects to the rogue AP |
| hostapd | Runs the fake access point and logs client activity |
| AP Authenticator | Logs SSIDs, MAC addresses, and failed password attempts |
| DNS Service | Intercepts all DNS queries and redirects them to the portal |
| Web Service | Hosts the phishing portal page |
| Jammer | Continuously deauthenticates clients from the real AP |
What the victim sees
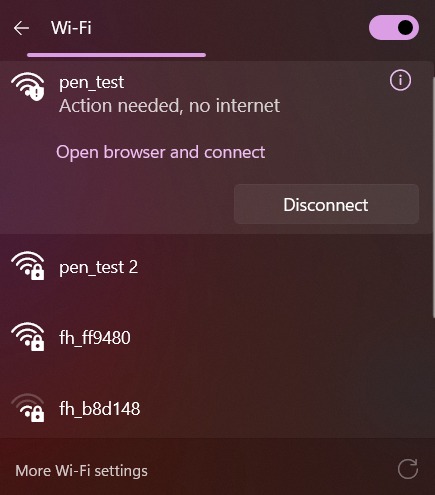
From the victim’s device, two networks appear with the exact same name — one is the real AP, the other is ours. Since we’re not using the emulated mode, our rogue network shows “No Internet Access,” but users often still try it thinking it’s a temporary issue with their router.
When the victim connects to the rogue network, their browser automatically opens a captive portal page — styled to look like a router login page — asking for the Wi-Fi password.
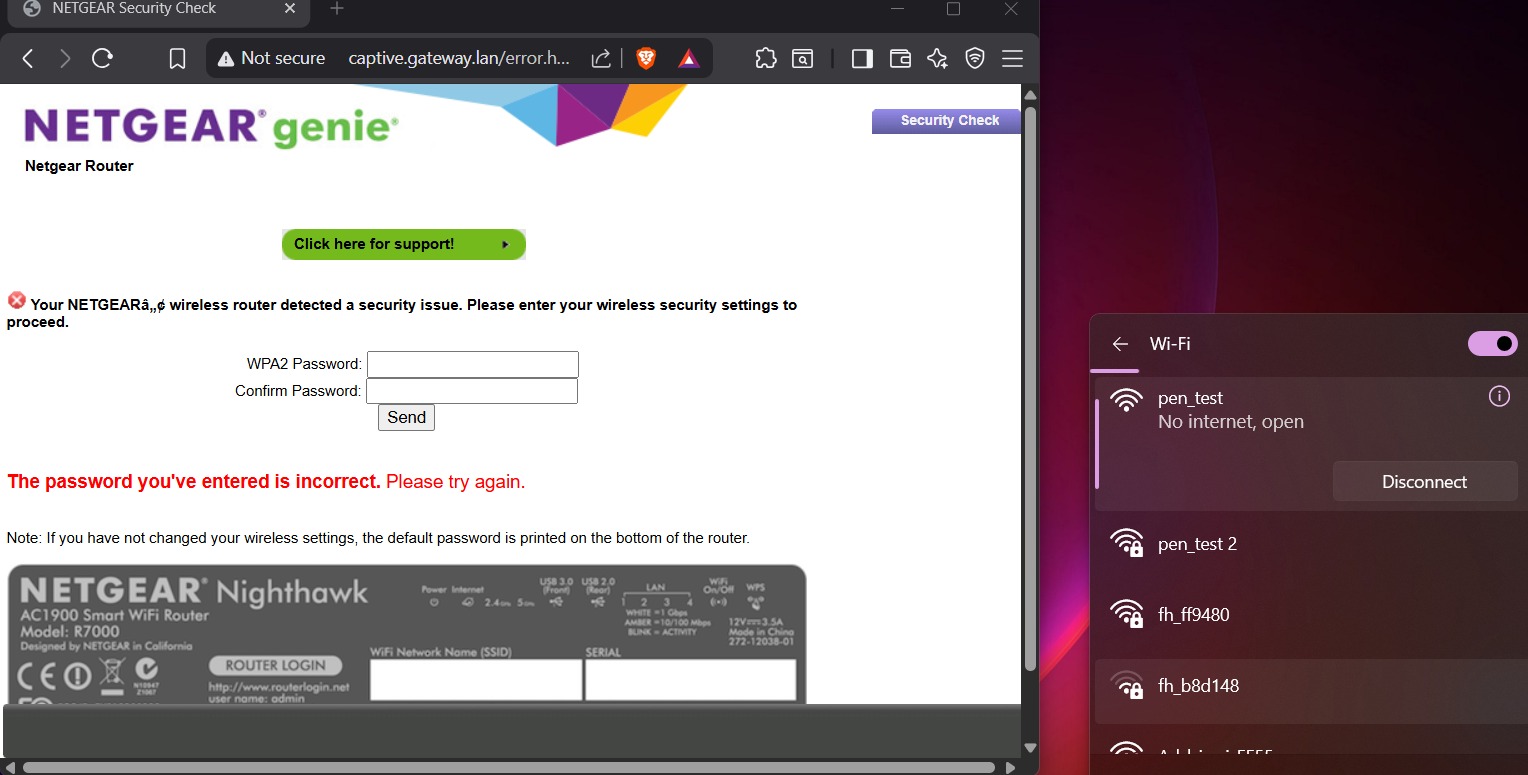
If the victim enters the wrong password, the page simply reloads and asks again. Under the hood, each attempt is hashed and compared against the handshake we captured in Step 5. The moment the hash matches — the password is correct.
Step 8 — Result
As soon as the correct password is entered, Fluxion:
- Verifies the hash matches the captured handshake.
- Redirects the victim back to their real router — they reconnect normally without suspecting anything.
- Stops the jammer, allowing all other disconnected devices to reconnect.
- Saves the captured password to:
1
/root/fluxion/attacks/Captive Portal/netlog/
Conclusion
The Evil Twin attack is a powerful example of why social engineering is often more effective than brute force. Instead of cracking a password through computation, it simply asks the victim for it — using a convincing fake environment.
How to defend against it
- Don’t auto-connect to known SSIDs in public places.
- Use a VPN on any network you don’t fully control.
- Be suspicious of any captive portal asking for your Wi-Fi password, legitimate routers almost never do this.
- WPA3 and 802.11w (management frame protection) make this class of attack significantly harder.
- Network admins should monitor for duplicate SSIDs and unusual signal anomalies on their infrastructure.
Tools used: Kali Linux · Fluxion · mdk4 · hostapd · cowpatty